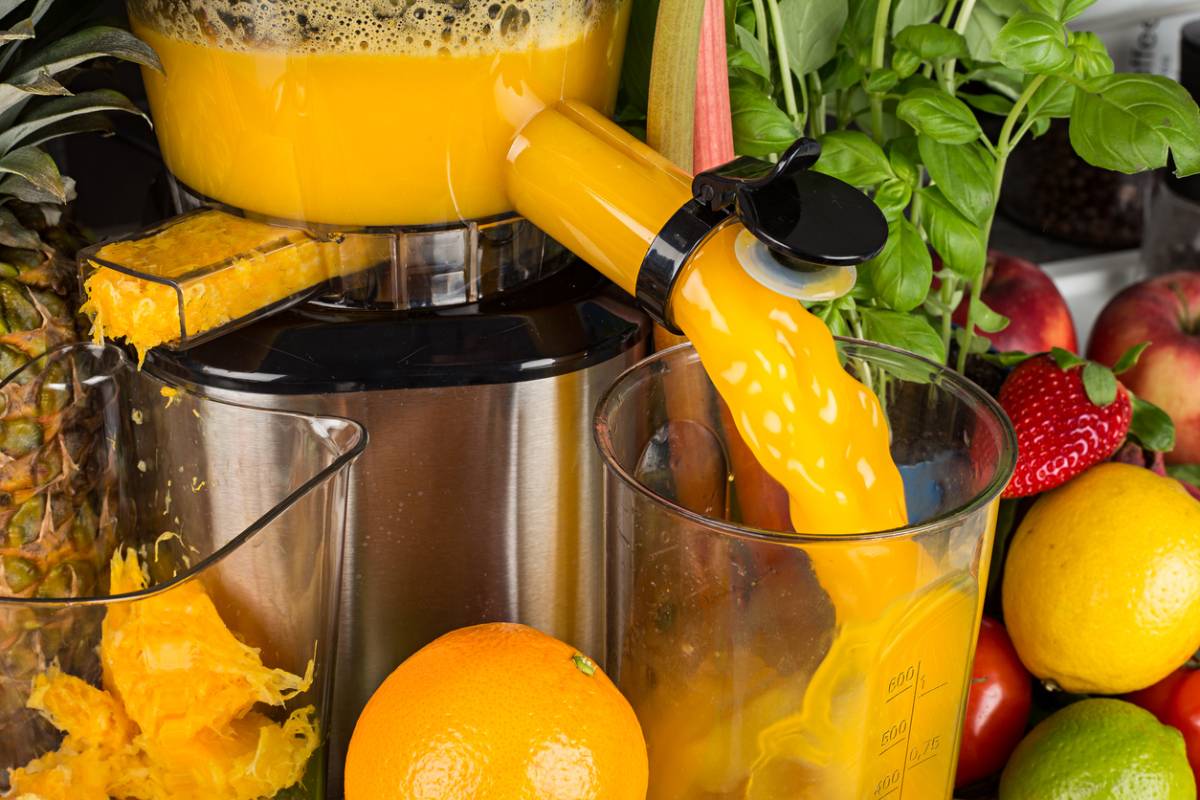
Juicing is a popular health trend that offers several benefits. It can increase your energy levels, aid in digestion, and improve your overall well-being. Whether you juice fruits or vegetables, both provide minerals and minerals that are beneficial for your health. Many people opt to start their day with juice for energy or end it for help with sleep and relaxation. No matter what you are juicing, it’s important to ensure that your juicer is clean. You may wonder, how to clean a juicer? Below, you will find helpful tips to ensure your juice stays clean and tidy.
How to Clean a Juicer
Cleaning your juicer is an important part of the juicing process. It can ensure that your juicer stays clean and lasts as long as possible. Consider the following steps if it’s time to clean your juicer.
Step 1: Turn Off Your Juicer
For safety purposes, be sure to unplug and power down your juicer. Place your juicer on one of your counters with a lot of space. You will likely need it, depending on how big your juicer is.
Step 2: Disassemble Your Juicer
Your juicer is likely filled with pulp and other debris from what you have put in it. Disassemble all of the pieces so you can get started removing the excess debris. This includes the grinding mechanism (use caution!), strainer, lid, and plunger. While you are at it, empty the pulp container. Many people put a bag over the container before they get started with their juicer so the cleanup is a little easier. The leftovers can be composted if you have a home garden.
Step 3: Wash The Components
Begin by removing any excess debris from each piece of the juicer. After the big chunks are off, rinse and soak the pieces for a couple of minutes. Any sticky residue should come off, and you can then wash the individual pieces. Use a soft-bristled toothbrush to clean the strainer, as it likely has small particles in between the wire. Wipe each piece off and let them air dry for at least an hour. If you plan on using the dishwasher, be sure each piece you put in is dishwasher safe. Do not put the juicer base in the sink or dishwasher, as this will damage it.
Step 4: Clean The Base
The base of the juicer has a cord should be wiped down. It is likely not going to be that dirty as food does not touch it. However, some spray or debris may have gotten on it. Wipe it down with a damp cloth and mild soap if it is dirty.
Step 5: Reassemble Your Juicer
Once everything is fully clean and dried, it’s time to reassemble your juicer. Once reassembled, it is ready to use the next time you want to make some juice.
Cleaning Frequency
Many people wonder how often they should clean their juicer. The answer depends on how often it is used. If you use your juicer daily, try to rinse it off at the end of each day. This can reduce the amount of buildup that occurs. Additionally, do a full deep clean as described above weekly. This can ensure your juicer lasts as long as possible.
Beverage Equipment Supplier
If you want to juice for more than just at-home purposes, consider working with the pros. They are great for restaurants, coffee shops, and more. Juicing has become a lucrative addition for those in the food service industry. The team at RJ Soda is the top soda beverage equipment supplier. They offer both installation and services, along with useful recommendations for juicer equipment suppliers. Contact their team today for more information!